Microsoft Clarity collects user session data using a cookie. The cookie tells Clarity how a user accessed your site, the user's location, the user's language preference, and more.
As a website publisher, you might be subject to a law that requires you to obtain consent before collecting users' personal information, such as the European Union's General Data Protection Regulation and ePrivacy Directive. Other laws might require you to give your users the ability to opt-out of your use of cookies.
Instructing Clarity to require consent before placing a cookie
By default, Clarity's tracking code loads immediately, before your user has indicated whether they consent to this.
You need to actively change this setting so that the Clarity tracking code doesn't set cookies by default and instead waits for a signal that indicates that consent was given.
Step 1: Configure Microsoft Clarity to require consent
- Log into Microsoft Clarity.
- Select ⚙ Settings from the top menu.
- Select { } Setup from the menu on the left
- Under Advanced settings toggle off Cookies.
Clarity will notify you that cookies are off.
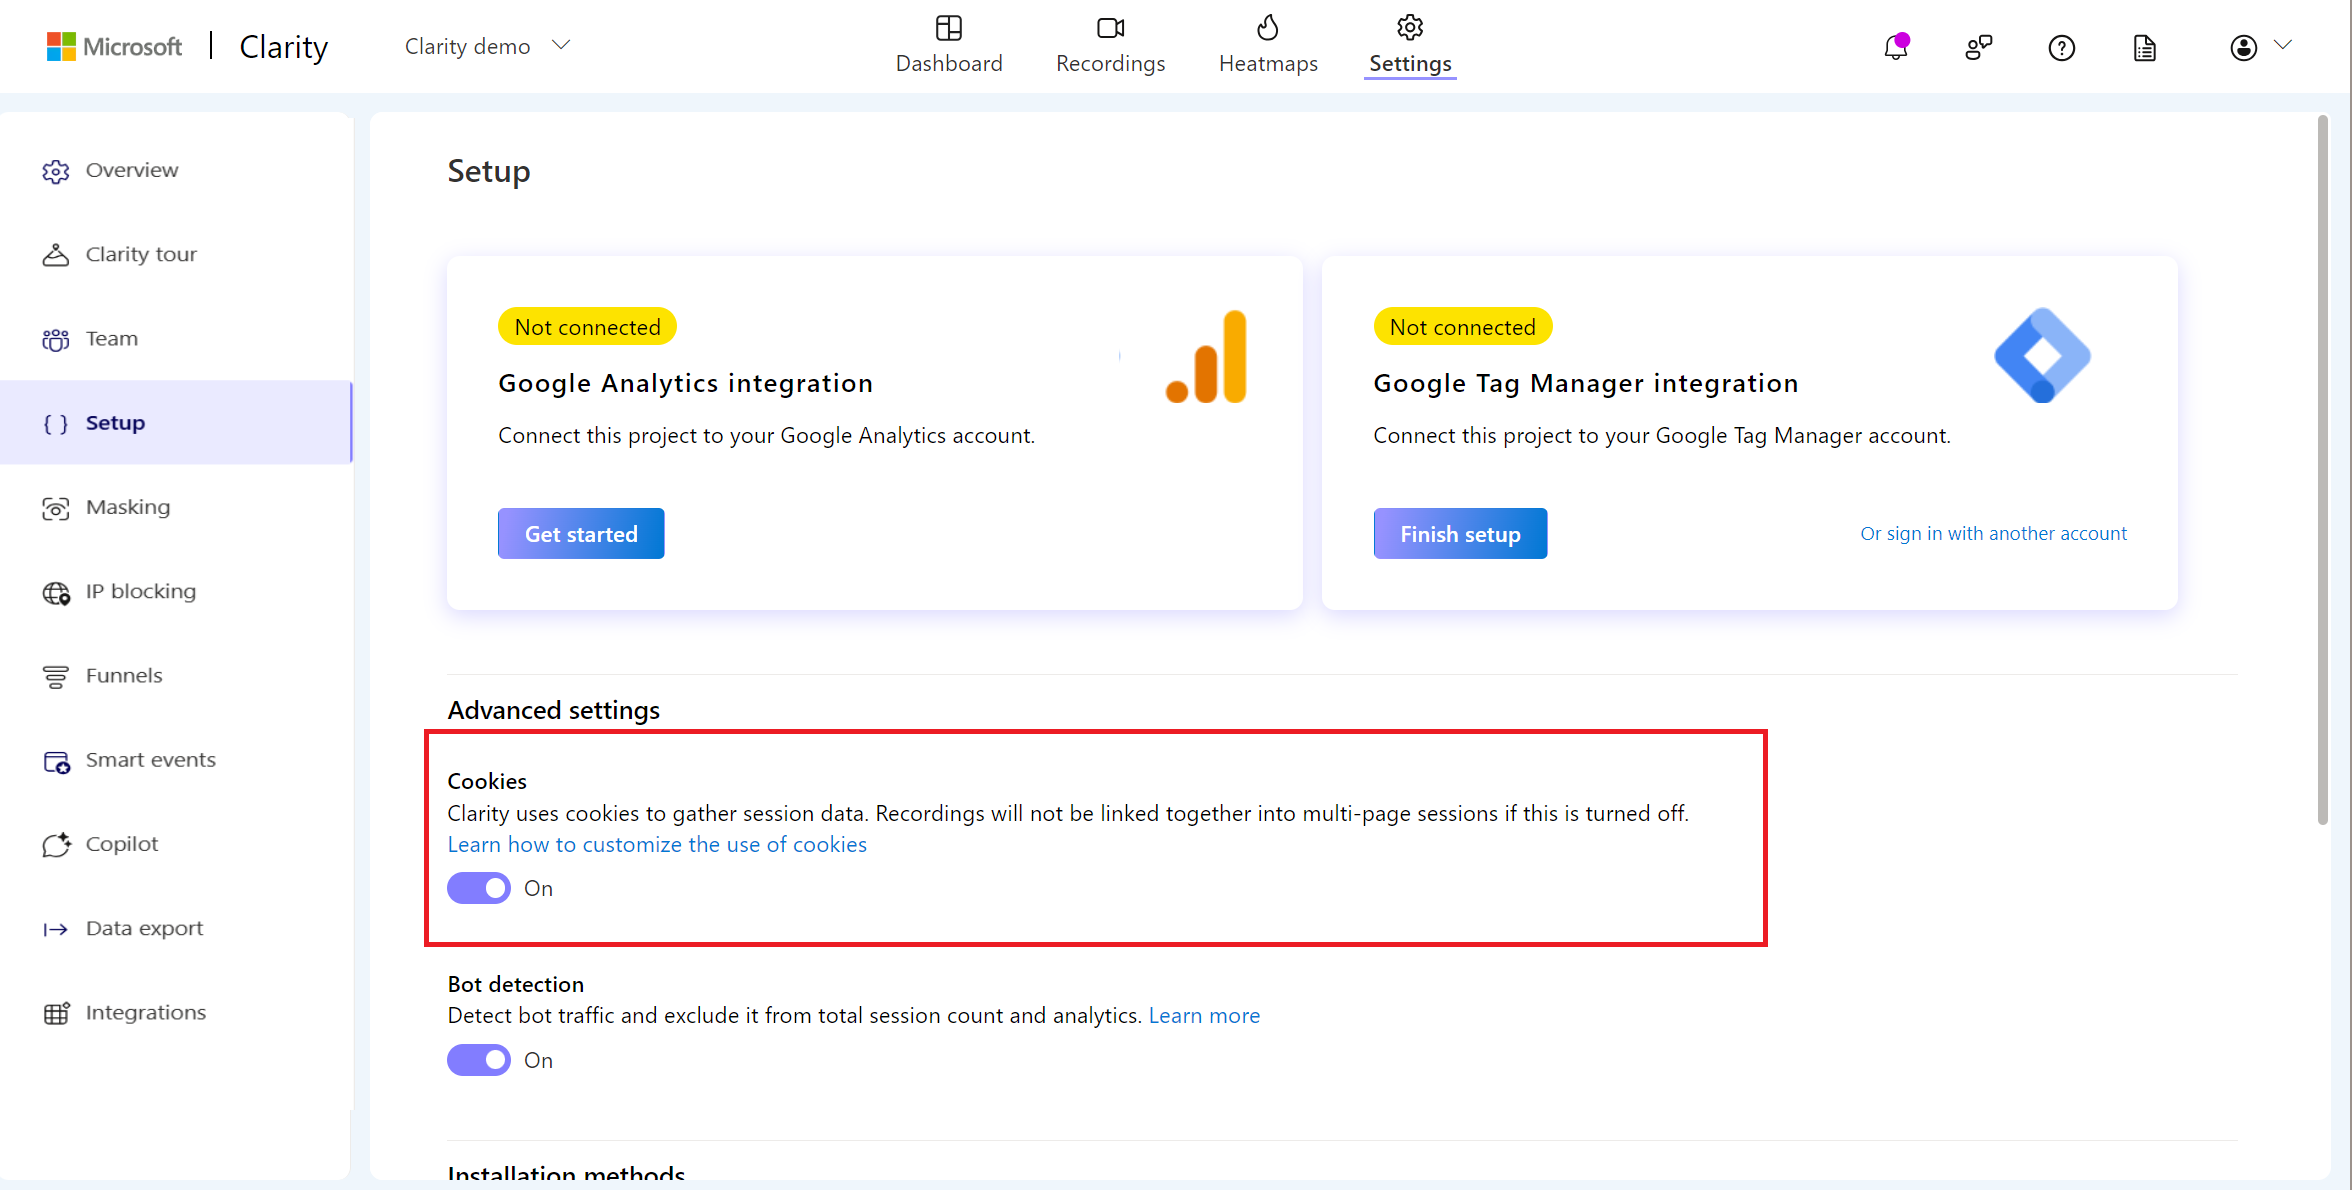
Clarity cookie setting
Please note
Clarity's recordings won't be linked together into multi-page sessions until you inform Clarity of a visitor's consent. Heat maps and data other than session recordings will continue to be available to you.
Step 2: Passing consent data to Microsoft Clarity
To enable Microsoft Clarity's tracking capabilities, or to disable it when consent is withdrawn, you need to add a script to your website's template.
First off, you need to define a consent event (for example "ucConsentEvent") which we can use to signal that consent was given or withdrawn.
You can do this in the Admin Interface, under Implementation, on the Data Layer & Events tab
The Data Layer & Events tab in the Usercentrics Admin interface
When you've created an event, you can use the following script to listen for the consent signal from Usercentrics CMP and trigger either an opt-in or an opt-out, depending on whether a visitor has consented to Microsoft Clarity as a data processing service:
<script>
  window.addEventListener('{{consent event name}}', function (event) {
    window.clarity('consent', event.detail['Microsoft Clarity']);
  });
</script>
Please note
You need to replace {{consent event name}} with the name of consent event you've added to your configuration.
In CMP version 3 the UC_CONSENT event will automatically fire when a visitor's consent choices are determined.
This event includes all sorts of details about the consent submission.
You can use the following script to listen for the consent signal from Usercentrics CMP and trigger either an opt-in or an opt-out, depending on whether a visitor has consented to Microsoft Clarity (DPS id: jzMEq56vW) as a data processing service:
<script>
  window.addEventListener('UC_CONSENT', function (event) {
    const clarityDpsId = 'jzMEq56vW';
    window.clarity(
      'consent',
      event.detail.services[clarityDpsId].consent.given
    );
  });
</script>